Member Login
Gardening
Hurricane Helene, Compost, and God's Vine
September 10, 2025
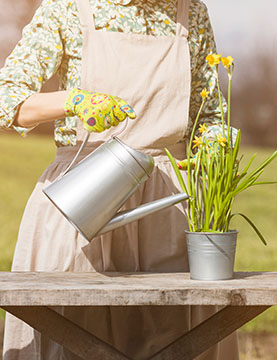
As plants flower and set seed and fruit ripens on the vine, think of what seeds can be saved for next year. Saving seeds can be easy and cost effective. In addition to saving seeds to sow next year, seeds can be packaged and given away as gifts. Purchase small paper envelopes, coin envelopes from the craft store or make envelopes. There are seed envelope templates online. This is a great project for making holiday gifts, teachers’ gifts, valentines, and even inserts into birthday cards.
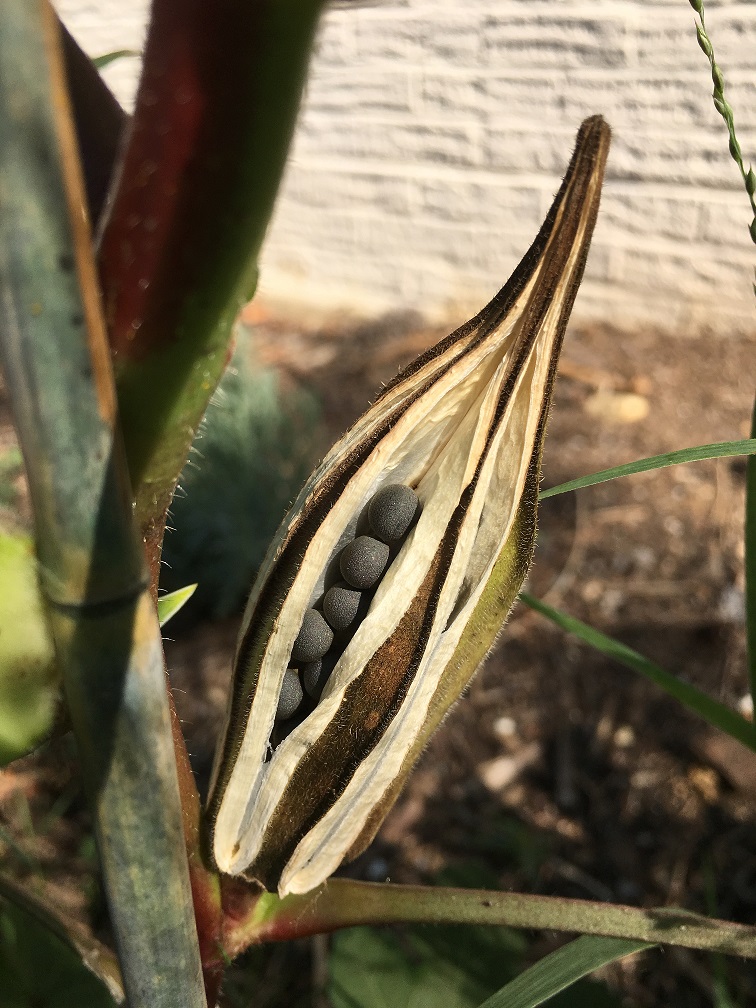
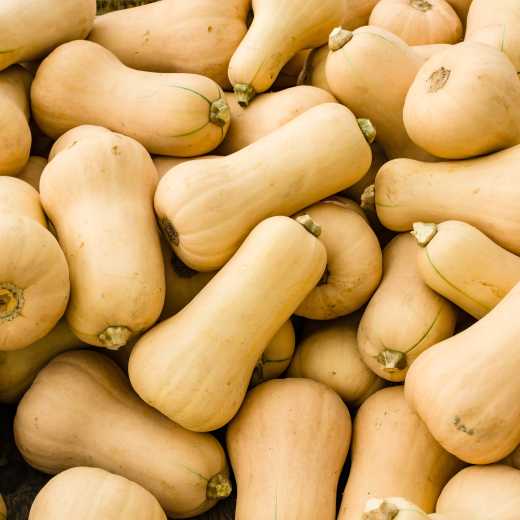
There are two methods for separating and cleaning the seed depending on the plant. Use the dry method for seeds that are in dried flowers, dried husks, or dried pods like beans, peas, grains, okra, marigolds, coneflowers, calendula, dianthus, basil, mustards, lettuce, kale, dill, fennel (any member of the carrot/dill family and the brassica/broccoli family). Use the wet method when the seeds are imbedded in the fleshy fruit, such as tomatoes, cucumbers, melons, squash, and eggplant.
Dry Method
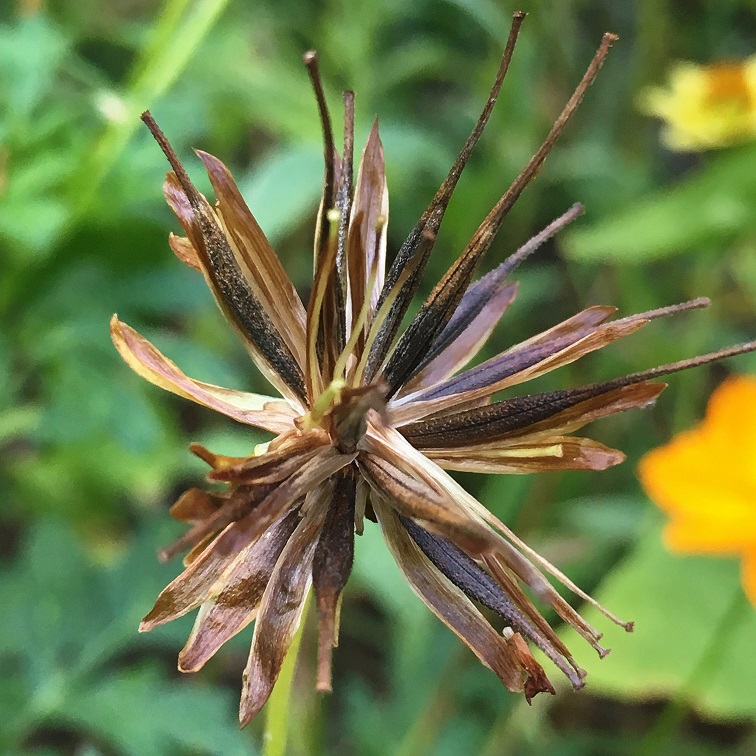
Usually, the plant has more than one flower head, each with their own timeline of flowering and setting seeds. During the summer, when the individual flower head has dried or when most of the seeds appear to be dried, cut the seed head and put in a paper bag. Cut the seed head off when the stalks are brown at least one inch down from the seed head. Label the bag with the plant name and date. Continue to cut and save this way until ready to separate the individual seeds from the seed head.
Beans and peas are fleshy so cut when the pod has become leathery or yellow and not completely dry. Let it continue to dry off the vine on a cookie sheet until the seeds rattle in the pods. For peppers, it is important to let the fruit ripen to the last color stage: many progress from green to red. For the cool season lovers such as greens (lettuce) and brassica family members such as kale, mustard, cabbage, and broccoli, let the plant bolt (flower). Then cut the flower head and put into a bag.
Later, maybe during the cold winter months, gather the bags and empty the seed heads on a white dinner plate or a cookie sheet to make it easier to see the seeds and prevent them from rolling off the table. By this time, the seeds and husks are completely dry. Simply pull apart the seed from the husk on the plate. If it is easy to remove, like marigolds, put the seeds in a glass jar or paper envelope. If it is a fine seed with a lot of husks, like pak choi, thrash around in a large paper bag so that the seed falls to the bottom. Pull out stems, pods, and seeds onto a cookie sheet or platee. Separate further on the plate or use a sieve. If the seed has a lot of chaff, continue to separate seed by screening with a sieve.
Wet Method
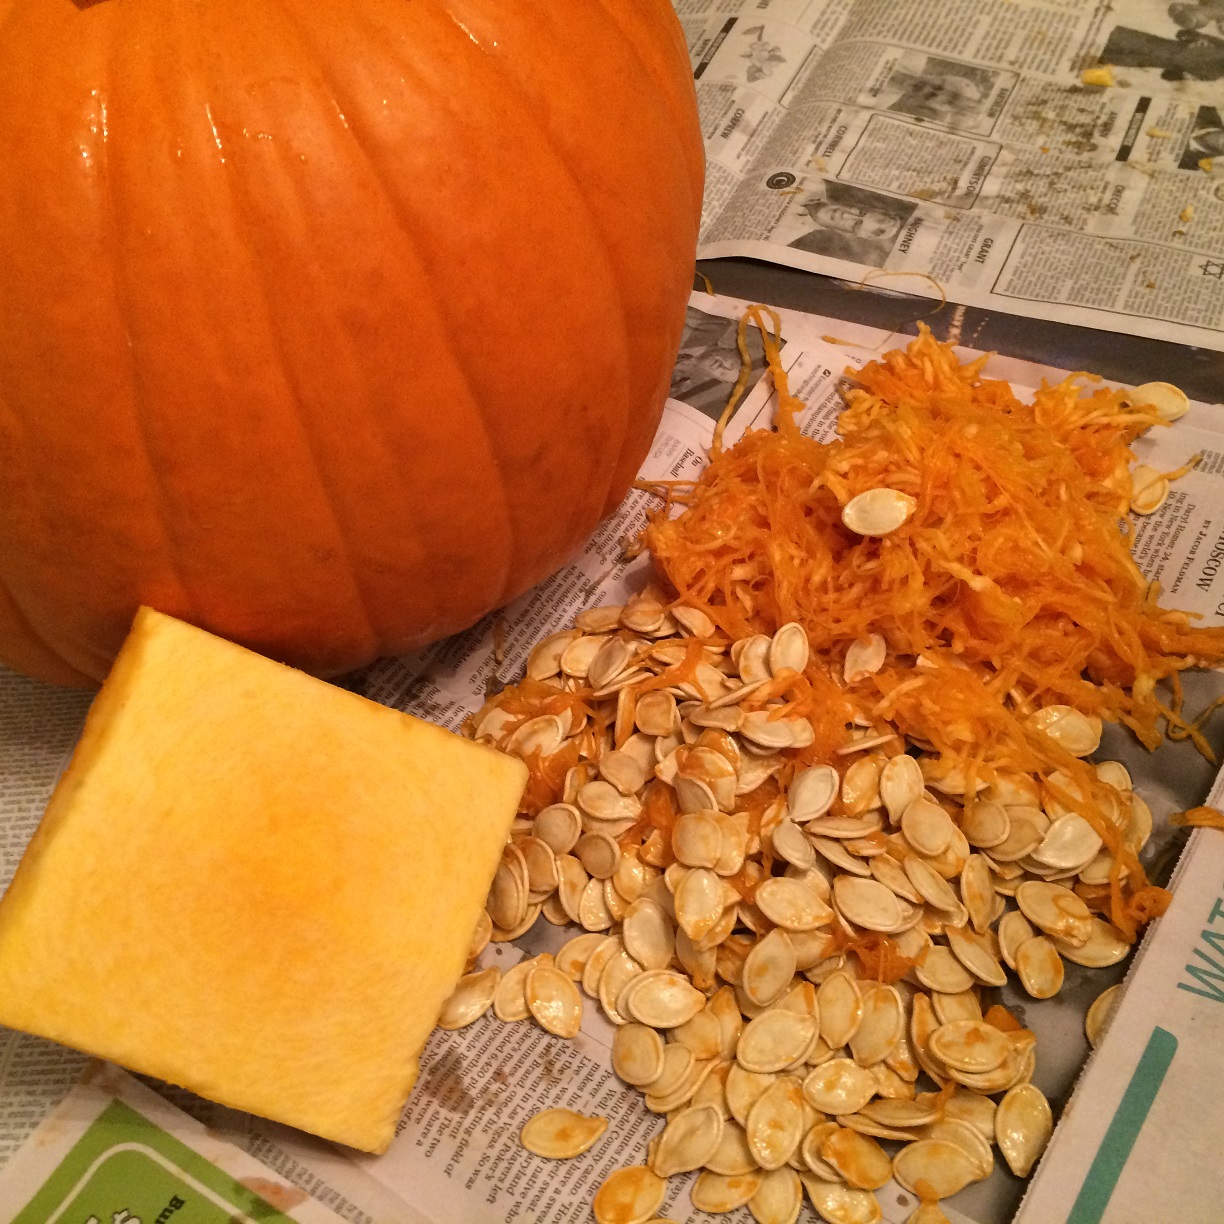
For this method the fruit must be very ripe. For pumpkins, squash, and melon, simply remove the seeds and rinse the stringy fruit parts off with water, straining with a colander. For eggplant, cut into cubes and cover with water for a day, stirring once. Squish the seeds out, place into a colander, and clean off with water. If there are remaining seeds, repeat the process the next day to get the rest out. Put clean seeds on a cookie sheet and let dry.
For cucumbers, scoop seeds out and put in a jar. Add water and stir every day for 2 days. Strain to remove seeds and let dry on a cookie sheet.
For tomatoes, squeeze or cut up the flesh and put into a jar. Add enough water to be able to stir the mixture and to create volume for the pulp to separate from the seeds. Keep the jars out of direct light and stir daily for a few days. The tomatoes will ferment, and it will look gross, but this process separates the seeds. After a few days, the heavy seeds will sink to the bottom and the lighter seeds and pulp will float to the top. Skim off and throw away the top layer. Keep the heavy seeds, they are the ones that are viable. Keep adding water, swishing until the good drops down and the bad surfaces, and skim again. Keep doing this until the water is clear with good seeds at the bottom. Pour the mixture into a colander, screen, or paper coffee filter depending on seed size.
Put the seeds on a plate or cookie sheet in a dry area, out of direct light. Every few hours, stir around until dry. They need to be able to dry quickly at this point in time because the moisture left on them may induce them to germinate. Once they seem dry, let them sit for several weeks until completely dry and then store in a glass jar or paper envelope. Label with name and date.
Open-Pollinated versus Hybrid
When saving seeds, it is important to know if the plant is open-pollinated or a hybrid. If they are open-pollinated, then the next generation will be the same, including the same characteristics as the parents. Heirlooms are open-pollinated, so saved seeds of heirloom tomatoes will produce the same tomatoes each year.
If the plant is a hybrid, it was produced by crossing two genetically distinct parents. The hybrid was bred to have desirable characteristics such as disease resistance. In seed catalogs, hybrids are often referred to as “F1”s – filial 1 hybrid. If seed of this plant is saved, the next generation may not retain the same desirable characteristics. It will still be the same type of plant, but the plant may have different flower colors or not be resistant to powdery mildew.
Try these simple methods to save your seed to sow next year or to give as gifts. Consider saving seeds for seed swaps with friends or local seed swap events.